Are you looking to add more nutritious greens to your diet? Look no further than kale! Known for its countless health benefits, kale is a versatile leafy green that can be easily grown in your own backyard. Not only will growing your own kale save you money, but it will also provide you with the freshest and most flavorful greens possible. In this article, we will guide you through the process of growing your own kale at home.
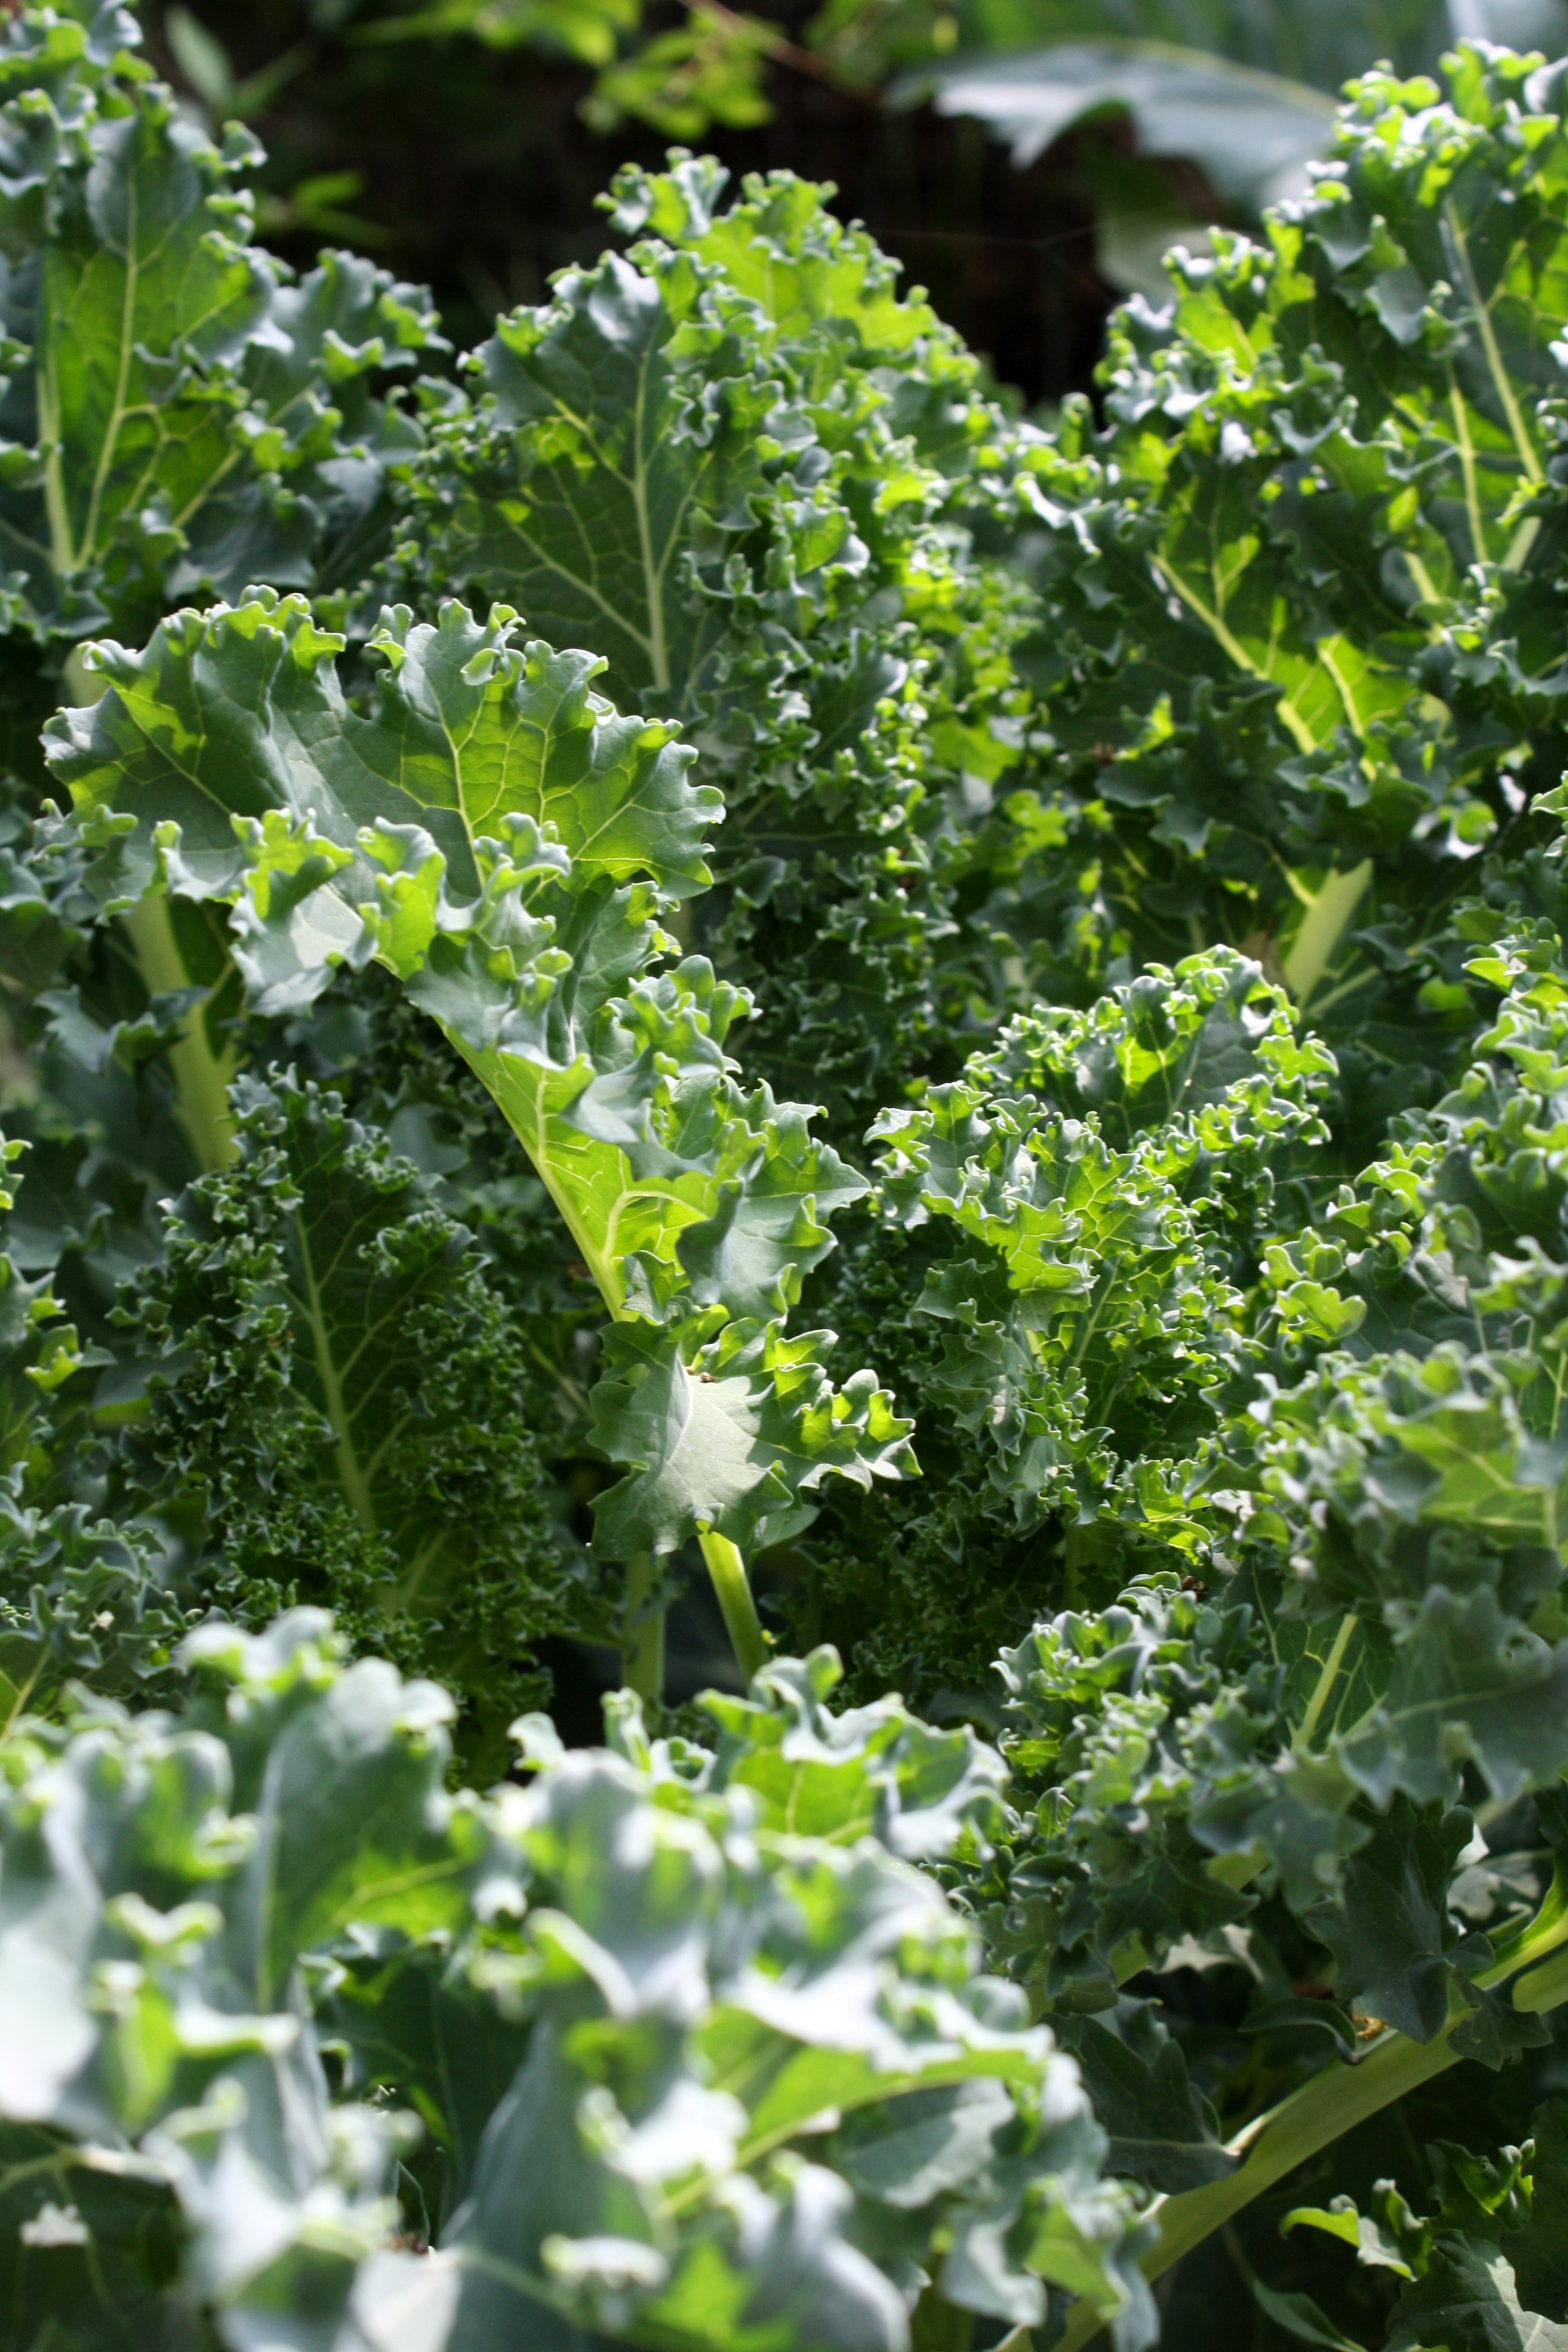
First things first, let’s talk about the different varieties of kale. There are several types to choose from, each with its unique characteristics and flavors. The most common variety is curly kale, which has ruffled leaves and a slightly bitter taste. Then there’s Tuscan or Lacinato kale, also known as dinosaur kale, which has long flat leaves and a sweeter flavor. Finally, Red Russian kale features vibrant purple stems and tender leaves.
Now that you’ve chosen your preferred variety of kale, it’s time to prepare the soil for planting. Kale thrives in well-drained soil enriched with organic matter such as compost or aged manure. Clear a small area in your garden or create raised beds if space is limited. Remove any weeds or rocks and loosen the soil using a garden fork or tiller.
Once the soil is ready, it’s time to sow the seeds. Plant your seeds about half an inch deep and two inches apart from each other in rows spaced around 18 inches apart. If you’re starting early in spring when temperatures are still cool, consider covering the seedlings with row covers until they establish themselves.
Kale requires consistent moisture to grow properly but make sure not to overwater as excessive moisture can lead to root rot disease. Water deeply once or twice per week depending on rainfall conditions.
As your plants start to grow taller and develop true leaves (usually after three weeks), thin them out by removing weaker seedlings so that they have adequate space to grow. Aim for a spacing of around 12-18 inches between plants, depending on the variety.
Kale is a relatively low-maintenance plant, but it does benefit from regular fertilization. Apply a balanced organic fertilizer every four to six weeks to ensure healthy growth and maximum nutrient content in your kale leaves.
One of the great things about growing your own kale is that you can harvest it at different stages depending on your preference. If you prefer baby greens, you can start harvesting when the leaves are around 2-3 inches long by snipping them off with scissors or pruning shears. For mature leaves, wait until they reach their full size (around 8-10 inches) and remove the outer leaves first while leaving the center intact for continuous growth.
Remember that kale is cold-hardy and tastes even better after being exposed to frost. In fact, some gardeners claim that kale harvested after frost has a sweeter flavor! So don’t be afraid to leave your plants in the ground even as temperatures drop.
Once harvested, rinse your kale thoroughly under cool water to remove any dirt or debris before enjoying it in various dishes such as salads, smoothies, stir-fries, or even as crispy baked chips!
Growing your own kale at home not only ensures a fresh supply of this nutrient-packed green but also allows you to experience the joy and satisfaction of nurturing plants from seedlings to delicious produce. Start small if you’re new to gardening and gradually expand as you gain confidence. Before you know it, you’ll have an abundant supply of lush green kale right at your fingertips throughout the year!
Leave a Reply