Quinoa is a highly nutritious and versatile grain that has gained popularity in recent years due to its numerous health benefits. It is rich in protein, fiber, and essential minerals like iron and magnesium. Not only is it a great option for vegetarians and vegans looking for plant-based sources of protein, but it also offers a range of culinary possibilities.
However, cooking quinoa perfectly can be a bit tricky if you’re not familiar with the process. Many people struggle with achieving the right texture – often ending up with mushy or crunchy results. In this article, we will guide you through step-by-step instructions on how to cook quinoa perfectly every time.
Step 1: Choosing the Right Quinoa
Before diving into the cooking process itself, it’s important to choose the right type of quinoa. There are three main types available: white, red, and black quinoa. White quinoa is the most common variety and has a mild flavor that pairs well with various dishes. Red quinoa has a slightly nuttier taste and retains its shape better after cooking. Black quinoa has an earthier flavor profile and adds visual interest to your dishes.
Regardless of which type you choose, make sure to buy from reputable brands or stores known for their quality products.
Step 2: Preparing Quinoa
To prepare your quinoa for cooking:
– Start by rinsing it thoroughly under cold water using a fine-mesh sieve or strainer.
– Rub the grains gently between your fingers while rinsing to remove any residual bitterness caused by saponins – natural compounds found on the outer layer.
– Some packaged varieties may come pre-rinsed; however, it’s always best to rinse again before cooking just to be safe.
– Once rinsed, drain off any excess water completely.
Step 3: Ratios and Measurements
Getting the ratio of liquid-to-quinoa right is crucial when aiming for perfectly cooked quinoa. A common ratio is 2 cups of liquid for every 1 cup of quinoa. However, this can vary depending on personal preferences and the desired texture.
If you prefer your quinoa to be fluffy and light, stick with the 2:1 ratio. For a slightly denser texture, you can reduce the liquid to 1¾ cups per cup of quinoa.
Step 4: Cooking Methods
There are three main methods for cooking quinoa: stovetop, rice cooker, and Instant Pot/pressure cooker. Each method has its advantages and may suit different kitchen setups or personal preferences.
Stovetop Method:
– In a medium-sized saucepan, combine the rinsed and drained quinoa with the appropriate amount of water or broth.
– Bring it to a boil over medium-high heat.
– Once boiling, reduce the heat to low and cover the pot with a tight-fitting lid.
– Let it simmer gently for about 15 minutes (for white quinoa) or up to 20 minutes (for red or black varieties).
– Avoid opening the lid during cooking as this will release steam and affect the cooking time.
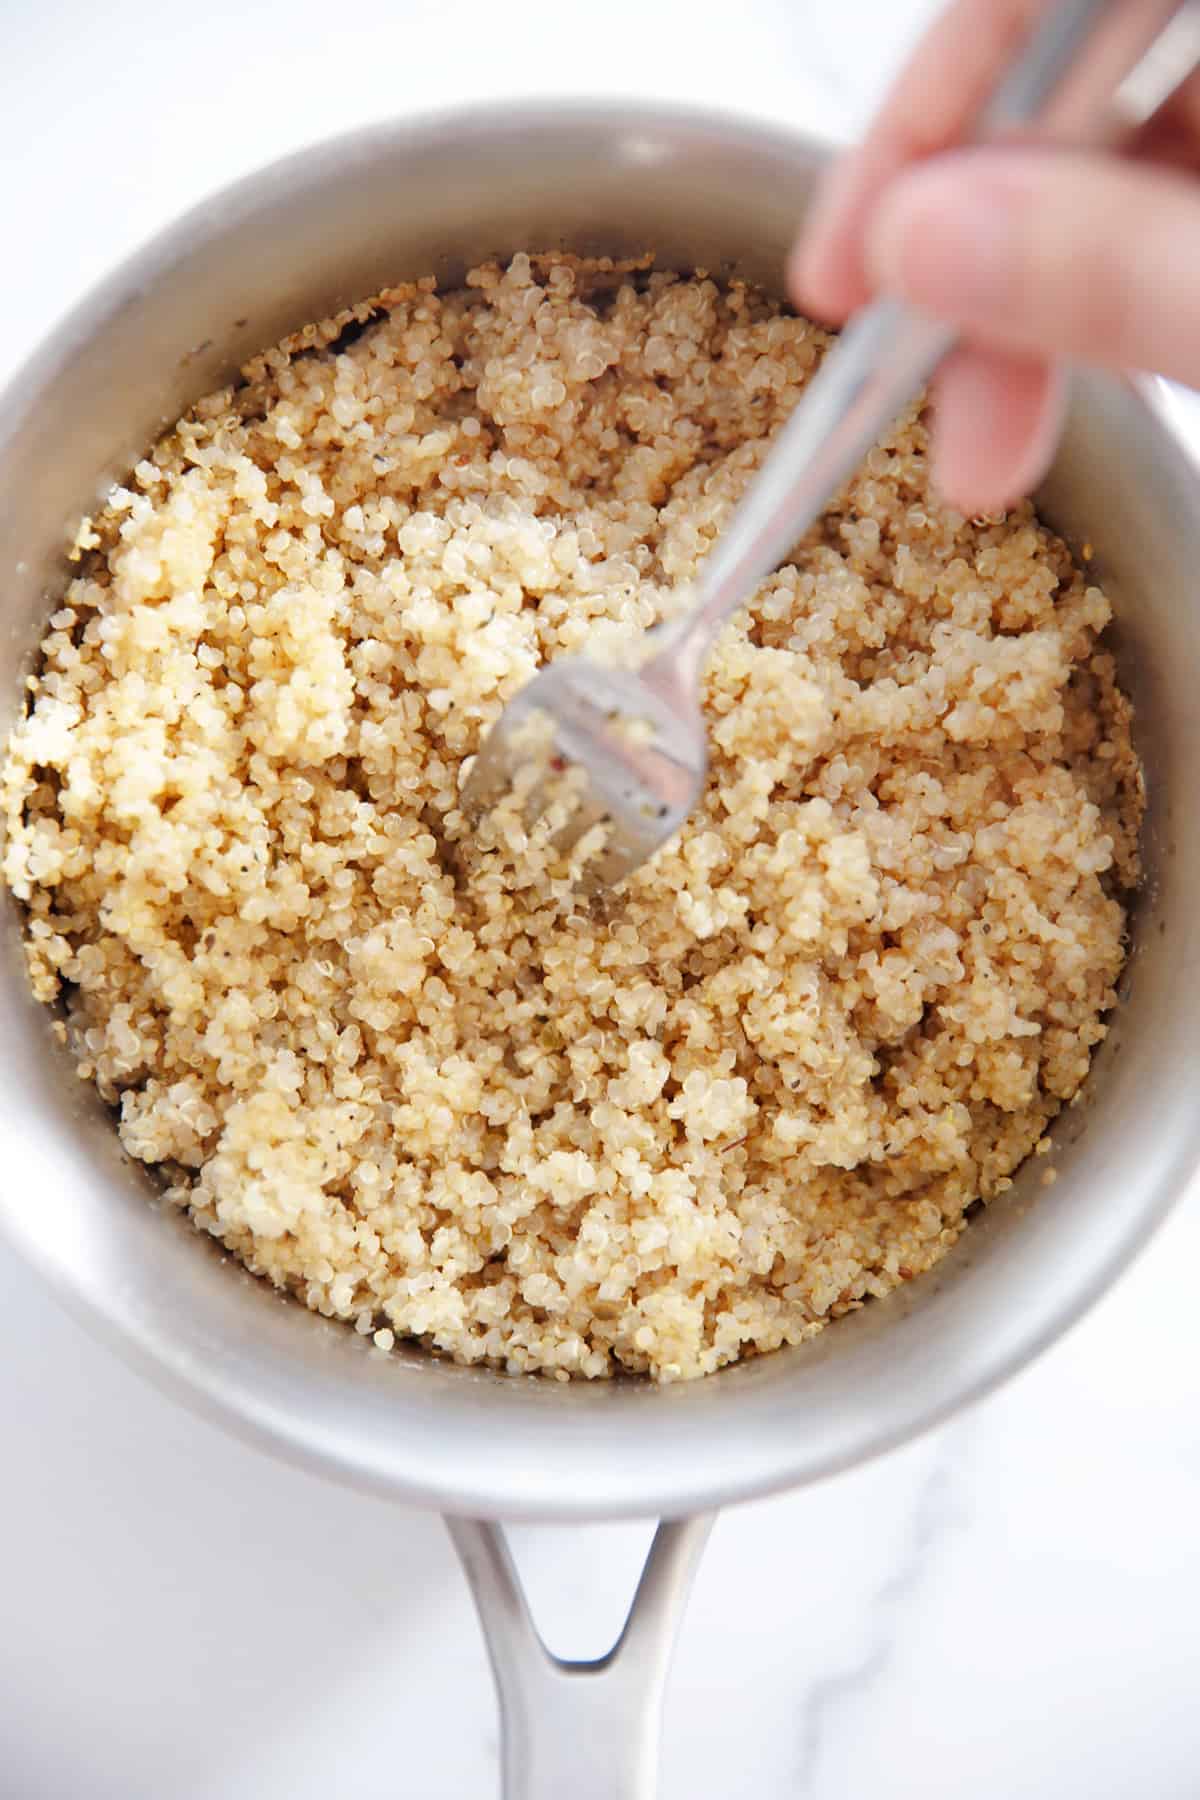
– Afterward, remove from heat but keep it covered for an additional five minutes before fluffing it up with a fork.
Rice Cooker Method:
– Follow your rice cooker’s instructions regarding liquid ratios.
– Add rinsed and drained quinoa along with water or broth into the rice cooker.
– Close the lid and set it to cook using either regular white rice setting or “quinoa” mode if available.
– Allow it to complete its cycle undisturbed before fluffing with a fork.
Instant Pot/Pressure Cooker Method:
Note: Consult your specific appliance’s manual for accurate timing instructions as they may vary slightly.
– Combine rinsed quinoa with water/broth in your Instant Pot/pressure cooker insert.
– Close the lid, set the vent to “sealing,” and select the manual/pressure cook function.
– Adjust the cooking time based on your quinoa type: 1 minute for white quinoa or 2 minutes for red/black varieties.
– Once done, allow a natural pressure release for five minutes before manually releasing any remaining pressure.
– Carefully remove the lid and fluff up the quinoa with a fork.
Step 5: Seasoning and Flavoring
While quinoa has a mild taste on its own, it readily absorbs flavors from other ingredients. To enhance its flavor profile:
– Consider using vegetable or chicken broth instead of water to add depth.
– Add herbs like thyme, rosemary, or oregano during cooking to infuse additional aromas into your dish.
– You can also include spices like cumin, turmeric, or paprika depending on your preferred cuisine or recipe.
Step 6: Storing Cooked Quinoa
If you have leftovers or want to prepare quinoa in advance:
– Allow cooked quinoa to cool completely before storing it in an airtight container in the refrigerator.
– It will stay fresh for up to five days; beyond that point, its texture may start deteriorating.
Cooked quinoa can also be frozen. Portion it into individual servings and store them in freezer-safe bags or containers. When needed, simply thaw and reheat as desired.
Now that you know how to cook quinoa perfectly every time let’s explore some delicious recipes that incorporate this nutritious grain!
Conclusion:
Quinoa is not only packed with essential nutrients but is also incredibly versatile in various dishes. By following these simple steps – choosing the right variety of quinoa, rinsing thoroughly before cooking, maintaining proper liquid-to-quinoa ratios while experimenting with different methods and seasonings – you’ll achieve perfect results each time. So go ahead and enjoy this protein-rich superfood as a base for salads, grain bowls, stir-fries, or even as a substitute for rice in your favorite recipes. Happy cooking!
Leave a Reply