Bone broth has gained popularity in recent years due to its many health benefits. Packed with essential nutrients, collagen, and amino acids, bone broth is not only delicious but also incredibly nutritious. Making bone broth from scratch may seem intimidating at first, but it’s actually quite simple. In this article, we will guide you through the step-by-step process of making homemade bone broth that will nourish your body and warm your soul.
Step 1: Gather the Ingredients
To make a flavorful bone broth, start by gathering high-quality ingredients. You’ll need:
– Bones: Beef or chicken bones work best for this recipe. Look for bones from organic and pasture-raised animals if possible.
– Vegetables: Carrots, celery stalks, onions, garlic cloves, and fresh herbs like thyme or parsley add depth of flavor to the broth.
– Apple cider vinegar: A splash of apple cider vinegar helps extract minerals from the bones.
– Water: Use filtered water to ensure a clean taste.
Step 2: Roast the Bones (Optional)
While roasting the bones before simmering is optional, it adds extra flavor to your bone broth. Preheat your oven to 400°F (200°C). Place the bones on a baking sheet lined with parchment paper and roast them for about 30 minutes until they turn golden brown.
Step 3: Prepare the Vegetables
While the bones are roasting or if you choose not to roast them at all, prepare your vegetables by roughly chopping them into large pieces. There’s no need to peel anything as we want maximum flavor extraction during simmering.
Step 4: Start Simmering
In a large stockpot or slow cooker, combine the roasted (or unroasted) bones with vegetables and herbs. Add enough water so that everything is submerged completely. For every pound of bones used, aim for around 8 cups of water.
Step 5: Add Apple Cider Vinegar
Pour a splash of apple cider vinegar into the pot. This helps break down the collagen in the bones and allows for better nutrient extraction.
Step 6: Simmer Slowly
Place your pot over low heat or set your slow cooker to its lowest setting. Allow the mixture to simmer gently for at least 12 hours, but preferably up to 24-48 hours. The longer you simmer, the richer and more flavorful your bone broth will be.
Step 7: Skim Off Impurities
As your bone broth simmers, you may notice impurities rising to the surface. Skim off any foam or scum that forms on top with a slotted spoon or skimmer. This step ensures a cleaner-tasting broth.
Step 8: Strain and Cool
After simmering for the desired time, remove the pot from heat and strain out all solids using a fine-mesh strainer or cheesecloth. Discard solids (bones and vegetables) as they have done their job imparting flavor to the broth.
Step 9: Refrigerate Overnight
Allow your bone broth to cool before refrigerating it overnight. As it cools, any remaining fat will rise to the top and solidify, making it easier to skim off later.
Step 10: Remove Fat Layer (Optional)
If desired, skim off any solidified fat from the surface of your chilled bone broth using a spoon or knife. This step is optional since some people prefer leaving a small amount of fat for added richness.
Step 11: Store Properly
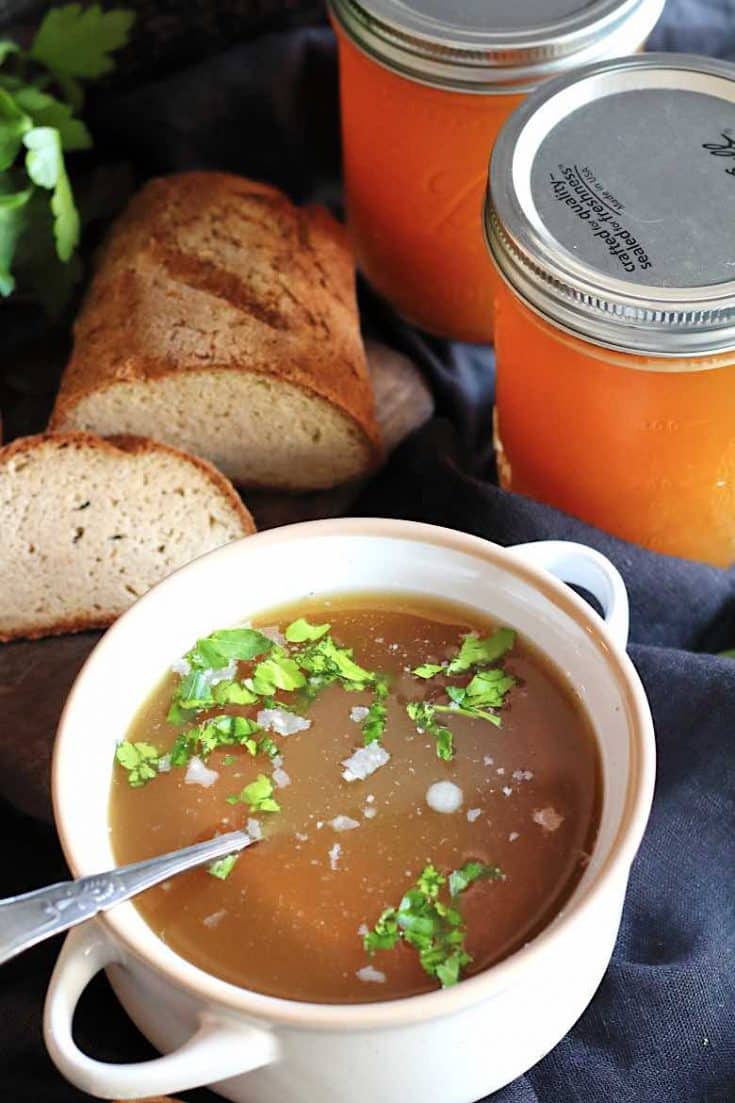
Divide your bone broth into smaller containers suitable for storage in either freezer-safe bags or glass jars with tight-fitting lids if planning on freezing them long-term. For fridge storage, use mason jars or other sealed containers that can be easily reheated when needed.
Now that you’ve made homemade bone broth from scratch, you can enjoy it as a nourishing beverage, use it as a base for soups or stews, or even sip on it between meals to boost your nutrient intake. The possibilities are endless!
Remember that bone broth is highly customizable. You can experiment with different flavors by adding additional herbs, spices, or vegetables to suit your taste preferences. So go ahead and get creative in the kitchen while reaping the many health benefits of this wonderful elixir. Cheers to your homemade bone broth journey!
Leave a Reply