Growing Microgreens Indoors: A Guide to Fresh and Nutritious Homegrown Greens
When it comes to healthy eating, incorporating fresh greens into our diets is essential. They are packed with vitamins, minerals, and antioxidants that help boost our immune system and promote overall well-being. While store-bought greens are readily available, growing your own microgreens indoors can be a rewarding and cost-effective way to ensure a constant supply of these nutritious powerhouses.
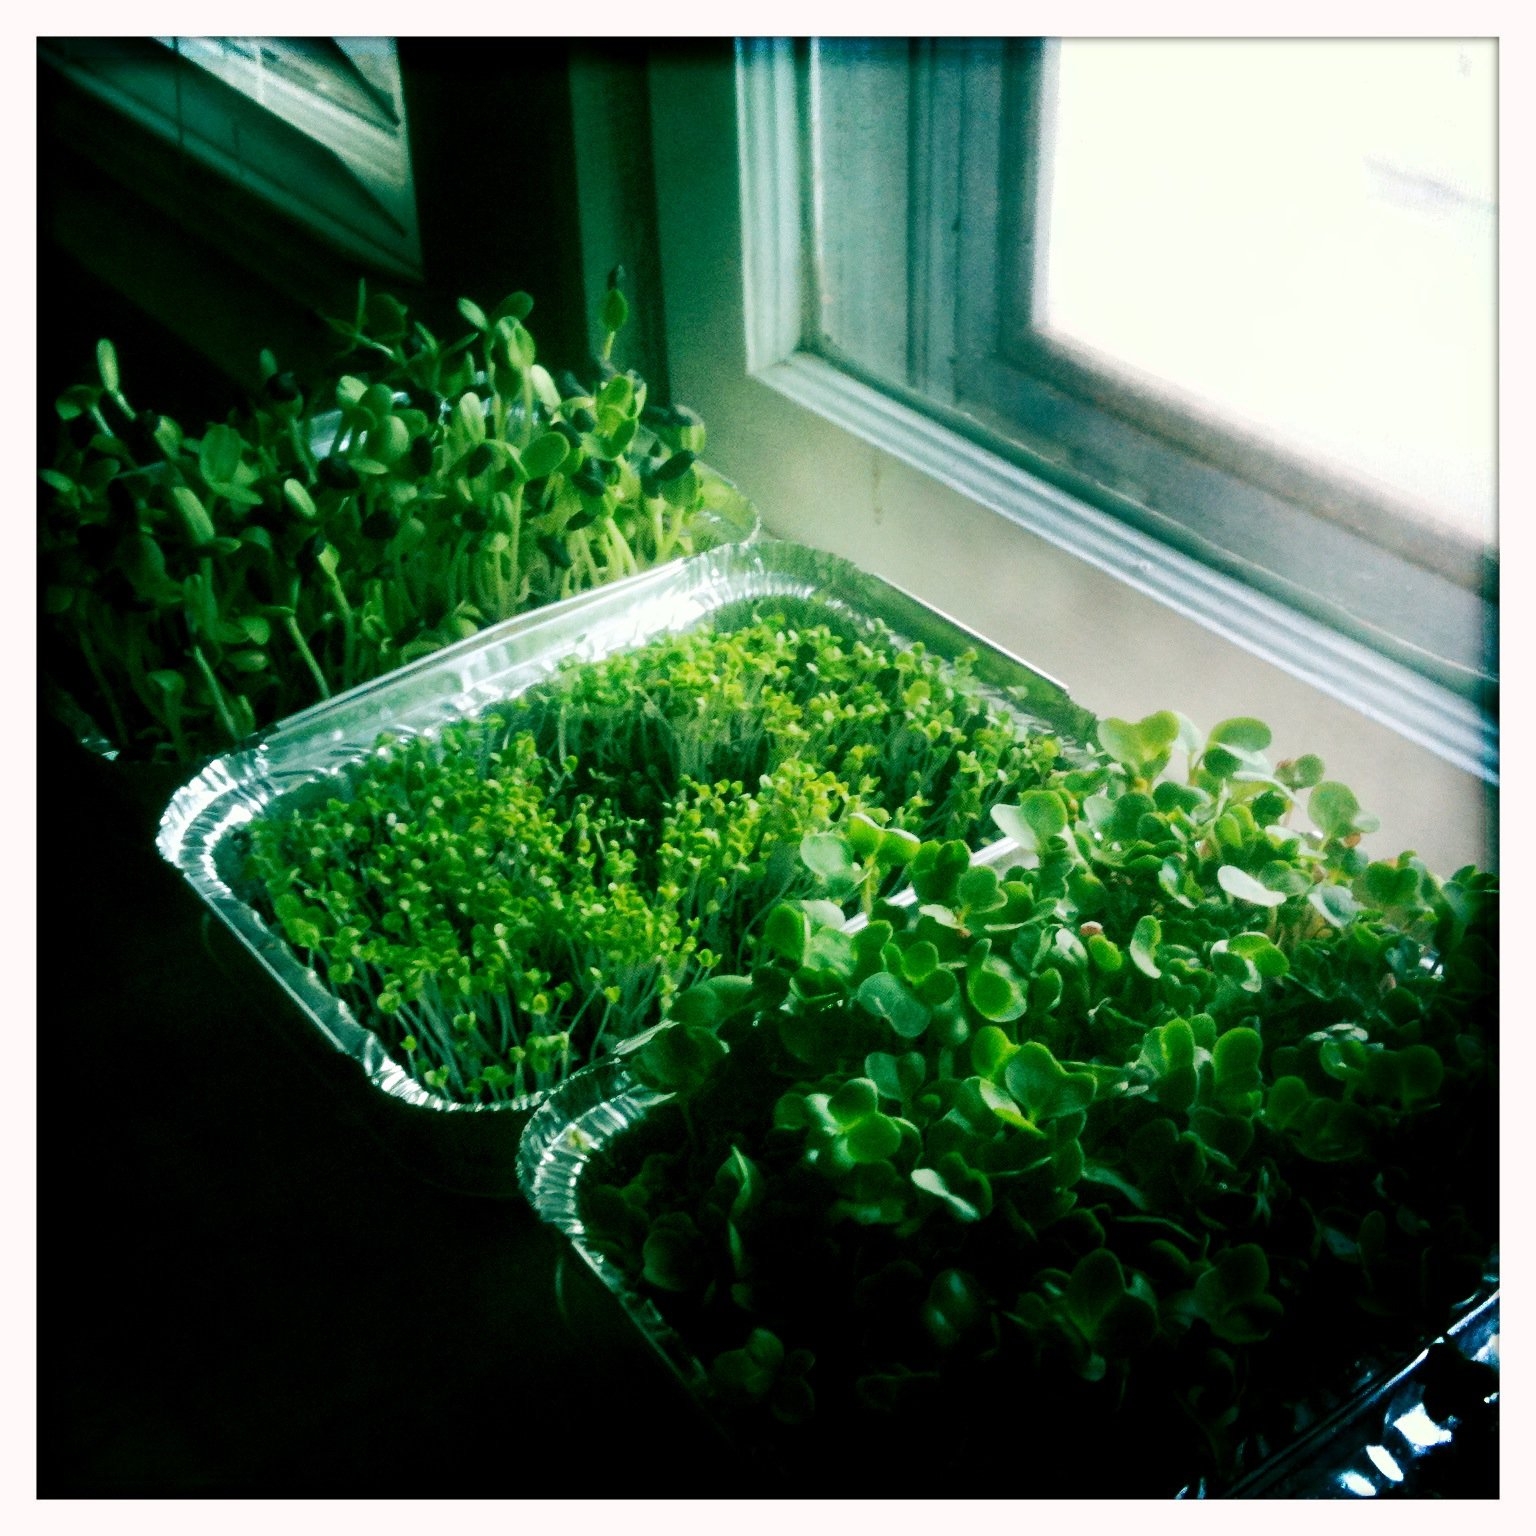
Microgreens are essentially young vegetable or herb seedlings that are harvested when they have developed their first set of true leaves. These tiny greens pack a punch in terms of flavor and nutrition, as they contain concentrated amounts of nutrients compared to their mature counterparts. With minimal space requirements and easy care instructions, growing microgreens at home has become increasingly popular among health-conscious individuals.
In this article, we will guide you through the process of growing microgreens indoors from start to finish. So let’s roll up our sleeves and get started!
1. Choose the Right Seeds:
To begin your indoor microgreen adventure, select seeds that are specifically labeled for microgreen production. These seeds should be untreated and free from any chemicals or pesticides. Popular choices include broccoli, kale, arugula, radish, sunflower, cilantro, basil, and many more! Experiment with different varieties to discover your favorites.
2. Gather Your Supplies:
Before sowing your chosen seeds, gather the necessary supplies:
– Containers: Select shallow trays or containers with drainage holes that can hold around 1-2 inches of soil.
– Soil: Use a sterile potting mix or seed starting mix for optimal results.
– Watering Can: Ensure you have an easy-to-use watering can with a fine spray nozzle.
– Spray Bottle: This will come in handy for misting the seeds during germination.
– Light Source: Since microgreens require ample light for healthy growth (12-16 hours per day), investing in a grow light or positioning your containers near a sunny window is crucial.
– Labels: It’s important to label each tray/variety, especially if you are growing different types of microgreens.
3. Prepare the Containers:
Fill the chosen containers with your potting mix, leaving around half an inch of space at the top. Gently pat down the soil to create a firm and even surface without compacting it too much.
4. Sow and Water Seeds:
Evenly scatter the seeds over the prepared soil surface. You can sow them more densely than you would with regular garden seeds since microgreens will not have enough time to fully mature. Lightly press down on the seeds using your hand or a small piece of cardboard to ensure good seed-to-soil contact.
Once sown, gently mist the seeds with water from your spray bottle until they are thoroughly moistened. Avoid oversaturating as this may lead to fungal issues.
5. Cover and Germinate:
To help retain moisture during germination, cover your trays with another tray placed upside down or use plastic wrap with holes poked for ventilation. This creates a mini greenhouse effect that encourages faster and more successful germination.
Place your trays in a warm location (around 65-75°F) out of direct sunlight until you see sprouts emerging, usually within 2-7 days depending on the variety.
6. Provide Ample Light:
As soon as you notice sprouts pushing through the soil surface, remove any covers or plastic wrap and place your trays under grow lights or by a sunny window where they can receive at least 12 hours of light per day. If using artificial lights, adjust their height accordingly to keep them 2-4 inches above the tops of your greens.
7. Water Regularly:
Microgreens require consistent moisture for healthy growth but be careful not to overwater as this can lead to mold development. Water your microgreens gently using a watering can or spray bottle, ensuring the soil remains damp but not waterlogged. Aim to keep the soil evenly moist throughout the growing process.
8. Harvest and Enjoy:
Within 1-3 weeks of sowing, depending on the variety, your microgreens will be ready for harvest! Once they have developed their first set of true leaves and reached an optimal height (usually around 1-3 inches), it’s time to snip them off just above the soil line using clean scissors or a sharp knife.
Rinse your harvested microgreens under cool water to remove any debris or seed husks, then pat them dry with a paper towel before incorporating them into salads, sandwiches, smoothies, soups, or as a garnish for various dishes. Their vibrant colors and intense flavors will add a delightful punch to your meals while providing you with an abundance of nutrients.
Remember that freshness is key when it comes to enjoying microgreens at their best. If you have excess greens that you won’t consume immediately, store them in an airtight container lined with paper towels in the refrigerator for up to five days.
By following these simple steps, you can enjoy homegrown microgreens year-round regardless of limited space or outdoor gardening possibilities. Growing microgreens indoors not only ensures a constant supply of fresh greens but also allows you to witness firsthand how food goes from seed to plate – promoting healthier eating habits along the way.
So why wait? Start growing your own indoor garden today and embark on this flavorful and nutritious journey!
Leave a Reply